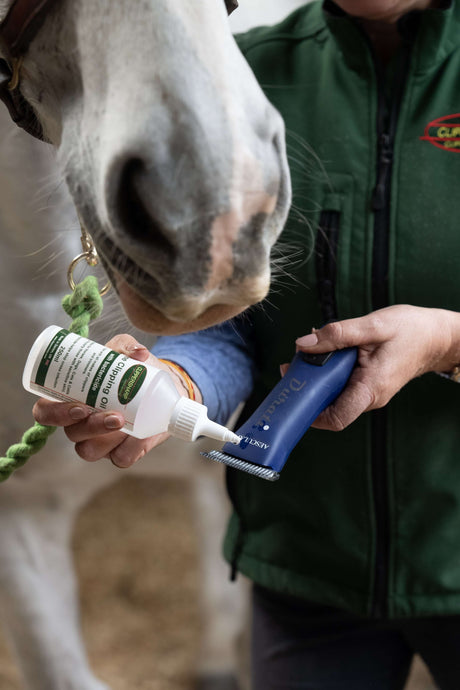
If the tension on your clipper is incorrect, you may find the clipper snagging at the hair as opposed to smoothly cutting through it. In addition, excess heat will be generated which can damage the internal workings of your machine. Similar problems can occur if the blades are fitted incorrectly. Here we explain how to tension and change your clipper blades.
We have listed most well-known clipper brands; if you cannot find the brand of your clipper, please don't hesitate to give our office a call on 01823 681076.
Jump to section:
How to Tension and Change Lister Clipper Blades
Lister clippers are really simple to tension and change the blades. Check out our step-by-step video to see how it's done. The video explains how to tension your blades:
- Screw the tensioning nut as far as it will comfortably go
- Using the marker on the tension nut as a guide, turn the tension nut back 1½ turns
- Your machine is now ready for use
This standard method of tensioning can be applied to all Lister clippers.
Depending on workload, we recommend replacing your tension set at the end of every season.
Metal and Plastic Socket Lister Blades - What's the Difference?
All Lister blades are compatible with all Lister medium and heavy duty machines. However, there are metal socket and plastic socket blades available for Lister clippers and it's important that you know the difference between the two and choose the right blade for your machine.
Heavy-duty machines like the Lister Legend and Lister Laser should only be used with metal socket blades, this is because they have a more powerful motor which puts a little more pressure on the blades. Using plastic socket blades on these clippers will not damage the clippers but you will find that the plastic socket begins to distorrt or melt.
Medium-duty machines like the Lister Star, Neon, Stablemate, Showman and Liberty can be used with plastic socket blades, which helps the clipper to run quieter, OR metal socket blades.
How to Tension and Change Liveryman, Wolseley, Liscop and Hauptner 3000
Liveryman, Wolseley, Liscop and Clippersharp's Hauptner 3000 machines all take the same blades and can be tensioned in a similar way.
Unlike Lister clippers, there is no set way to tension Liveryman/Wolseley/Liscop clippers. This video shows the best way to achieve the right tension but you may find that you need to tweak slightly to get your clippers running perfectly. We have detailed the tensioning instructions below:
- Screw the tensioning nut until you feel resistance
- This is then followed by a further 3/4 - 1 1/2 turns
- This method will apply to most Liveryman, Wolseley and Liscop machines but you may need to tweak slightly.
Depending on workload, we recommend replacing your tension set at the end of every season.
Which Blades will Fit?
All Liveryman and Liscop blades will fit most Liveryman, Liscop and Wolseley clippers (exceptions include the Liveryman Calypso).
How to Tension and Change Heiniger Clipper Blades
To change the blades you will need a screw driver (supplied with the machine) as demonstrated in the video. For tensioning, we recommend the following:
- Turn the tension nut clockwise until a firm resistance is felt
- This is then followed by a further ¾ of a turn
- This may seem a little tight but it is correct for this clipper. Don’t forget to oil your blades every 10 mins of use.
Which Blades will Fit?
Blades that are compatible with Heiniger clippers have a 'U-Shaped' indentation on the bottom comb blade, where the screws sit.
Numbers can be found on the top and bottom blade; the following number combinations relate to the following grades:
- 21-23 Coarse
- 31-15 Standard
- 31F-15 Fine
- 31-23 Very Fine
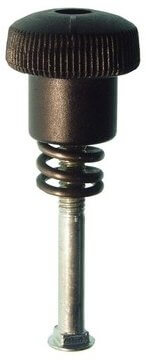
How to Tension and Change Aesculap Bonum & Econom Clipper Blades
For a step by step guide to tensioning your Aesculap Bonum Clipper, please follow these steps:
- With the blades attached, turn the clippers on with the power button on top of the handpiece.
- Loosen the bottom 'locking nut'
- Loosen the top 'tensioning nut' until the sound of the clippers becomes higher pitched.
- At this point, turn the top 'tensioning nut' one full turn in a clockwise direction.
- Tighten the bottom 'locking nut' to secure the tension.
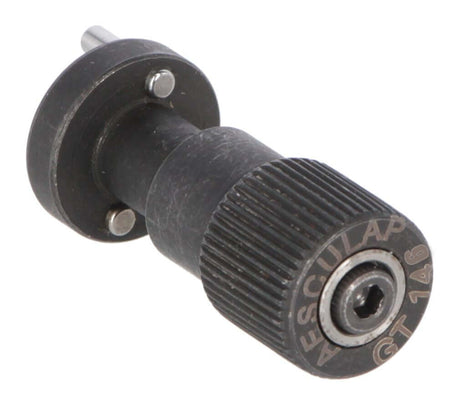
- With the blades attached to the machine, unscrew the bottom 'locking nut' and 'tensioning nut' so both have lots of play
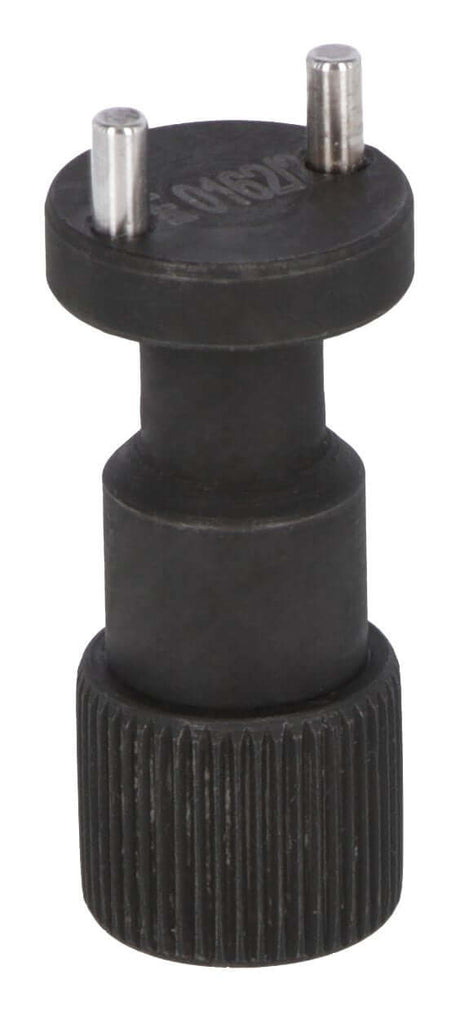
- Put the Torqui Tool into the 'tensioning nut' and begin to tighten.
- Once the tension is set, the Torqui will CLICK - at this point, the tension is correct & will not tighten any further.
- Remove the Torqui tool and tighten the 'locking nut' to set the tension.
Which Blades will Fit?
Similar to Heiniger, blades that are compatible with Aesculap clippers have a 'U-Shaped' indentation on the bottom comb blade, where the screws sit.