General Maintenance
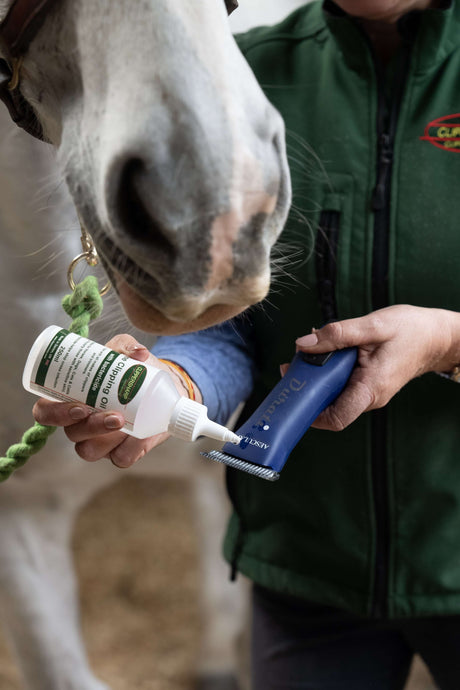
To get the most our of your clipper, it needs to be regularly serviced and maintained. Here's our top maintenance tips for your clippers and trimmers.
Storing your Clippers & Blades
Once you've finished clipping, it's really important that your clippers and blades are stored away in the warm and dry. Damp conditions will damage the internal workings of your clipper (especially battery powered machines) and will cause your blades to rust. To minimise the chances of rust, coat your blades in a thin layer of oil before storing away in an air-tight sandwich box or plastic bag.
Sharpening your Blades
All full size and snap-on blades can be sharpened. It is therefore a good idea to get your blades sharpened regularly to ensure they don't blunt half way through a clip. If you have disposable trimmer blades it's advisable to have a spare set, so you can always finish a clip that you've started, even if your current set of blades gets blunt!
Battery Powered Machines
It's good practice to ensure that you store all battery powered machines fully charged. This is to ensure that you get the most out of your clipper.
How to Service Your Clippers at Home
The following guides all you service your clipper yourself. They do require some deconstruction of your clipper, so if you're not confident doing this, send your clippers in for a service! Our team will give them a thorough clean, check over, and replace any parts that are starting to wear.
Cleaning the Vent
Many clippers have a vent. To ensure you clippers don't over-heat, any vents need to be regularly cleaned. To do so, we recommend removing them from your clipper and either removing the hair with a brush or washing in warm soapy water. Once clean, you should be able to see daylight through your vent. We stock replacement Lister Star/Neon vents - contact us if you think you need a replacement.
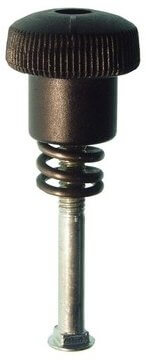
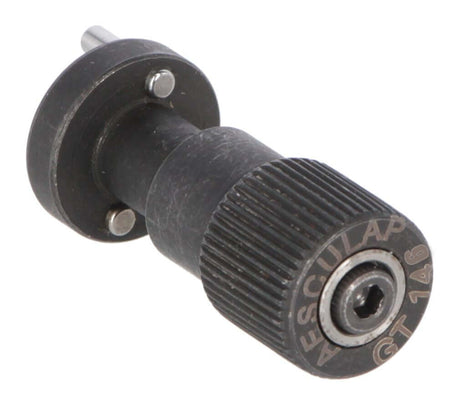
Changing the Tension Set
Most clippers have a tension nut, screw and spring. If you have clipped regularly throughout the winter, we would recommend changing it at the end of every season.
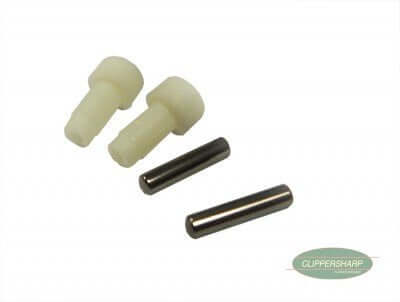
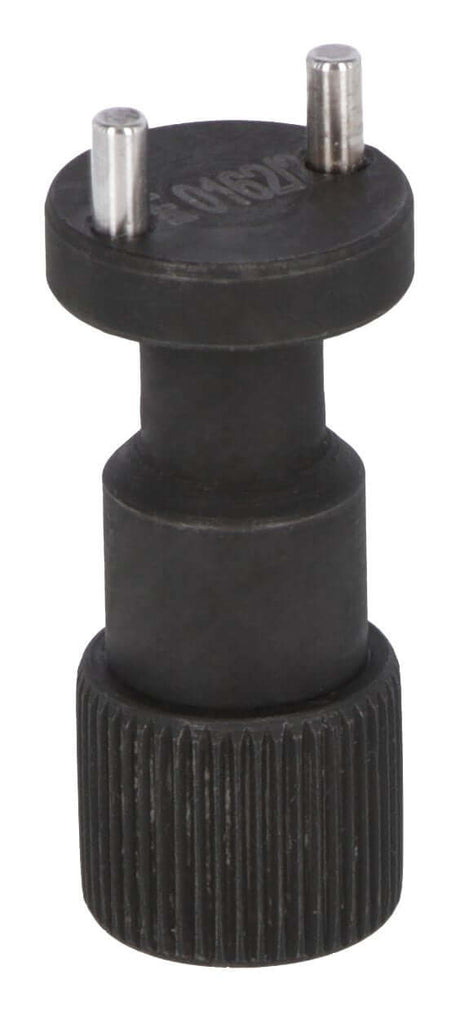
Changing Comb Pegs and Pins
Comb Pegs and Pins are exclusive to Lister clippers and can be found on the underside of the head. Over time the plastic can become worn which will allow the bottom blade to move laterally, consequently affecting the quality of a clip.
Here's how to change the Comb Pegs and Pins on your machine:
- Remove old pegs and pins using pliers
- Insert new pegs, using a small hammer to push into place
- Insert the pin in the hole in the middle of the peg
Please note: removing the head of the clipper and placing it on a towel/non-slip surface will make the peg and pins easier to fit.
Lister provide this handy diagram: